| client | ||
| doc | ||
| editor | ||
| firmware | ||
| pcb | ||
| pcbracket | ||
| tools | ||
| .gitignore | ||
| Doxyfile | ||
| GFDL.txt | ||
| GPL.txt | ||
| LICENSE | ||
| README.md | ||
Mini LED Cube
A 3x3x3 LED Cube, originally based on Paul Wilhelms project with USB and a lot of new features. An AVR (attiny2313 or attiny4313) with V-USB (software USB stack) controls a matrix of 3x3x3 LEDs which forms a 3D cube of LEDs. Every LED in this cube can be controlled independently over a simple protocol. Various tools (commandline-tool, 3D OpenGL editor) can be used the create animation sequences or use the cube as a XFD.
Building
The project consists of two parts: The LED cube and the controller PCB. Both parts can be build completely separate.
-
The Cube is a little bit tricky to solder. To see which wire should be bend and solder in which direction, use the 3D STL model for reference. To see more detail, install OpenSCAD and load the threedvis.scad file.
-
For the PCB there is a detailed instruction plan available. The instructions include soldering the parts, testing, flashing the firmware and setting the fuse bits.
Tools
-
The client lib is a simple interface for other software implementations. Have a look at the demo.c file how to include the lib into your own project.
-
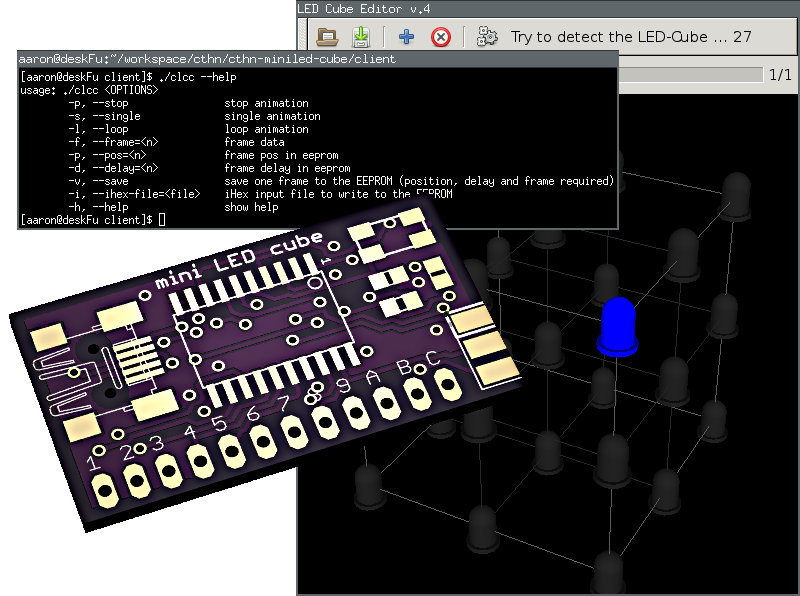
A commandline client clcc can be used to control the cube interactively over the commandline. Various commands can be send to the cube, see the sourcecode for explanation.
-
The 3D OpenGL Editor is using the client lib mentioned above. The editor shows a 3D representation of the LED cube and can be moved with the cursor keys. All virtual LEDs can be clicked with the mouse to toggle it on or off.
-
To use the cube as a XFD (show number of mails in INBOX, finished tickets today, incoming phone call, number of missed chat messages in an IRC channel, ...) you can use the frame2cube.pl script to send a complete frame to the cube.
